How To Install ROS 2 in Ubuntu 22.04 On M1/M2 Mac
Congratulations on taking the first step into the fascinating realm of robotics!
In this tutorial, I will walk you through the in-depth steps to install Ubuntu 22.04 with ROS 2 on the Macbook M1/M2 chip using UTM Virtualization software.
ROS 2 is supported in MacOS using the Homebrew installation process. Although, in my 7 years as a Roboticist, I have hardly seen anyone using MacOS for Robotics. What I have seen is the use of Virtual Desktops and Dockers with Ubuntu extensively. One of the primary reasons for configuring your development environment in this manner is because robotics software works on ARM-based development kits like Nvidia’s Jetson AGX series. When utilizing Virtual Desktops on Mac M1, you effectively have the same development environment as your robot's runtime environment while keeping the M1 chip's inherent speed performance.
We now understand why and what we are doing. Let’s dive right in.
- The first step is more of a reminder. The Macbooks with M1/M2 Chip are ARM-based platforms compared to older MacBooks and Windows which are AMD/Intel x86-based platforms.
- Different virtual desktops are available like Parallels Desktop, Oracle’s Virtual Box, and UTM each having its pros and cons. I would recommend the Parallels Desktop paid version if you are a professional developer. For students or anyone looking for free software, I would recommend Virtual Box for Windows and UTM for Macbooks.
- In this article, we will use free UTM virtualization software. UTM is a full-featured system emulator and virtual machine host for iOS and macOS. It is based on QEMU. In short, it allows you to run Windows, Linux, and more on your Mac, iPhone, and iPad. UTM allows Ubuntu to run with OpenGL, Hardware acceleration providing a highly efficient with near-native speed performance.
- I am using Macbook Pro with M1 Chip with MacOS 13. You will need about 50GB of free space for your new operating system.
-
Go to https://mac.getutm.app/ and click the
Downloadbutton. A UTM.dmg file will start downloading.
- Go to https://cdimage.ubuntu.com/jammy/daily-live/current/ and Download 64-bit ARM (ARMv8/AArch64) desktop image. A ".iso" desktop image will start downloading. Make sure you use the
ARMimage for a Macbook with M1/M2 chip and not anAMDimage. This step might take time depending on your internet speed.
- Double-click on the
UTM.dmgfile and drag the icon to the Applications folder.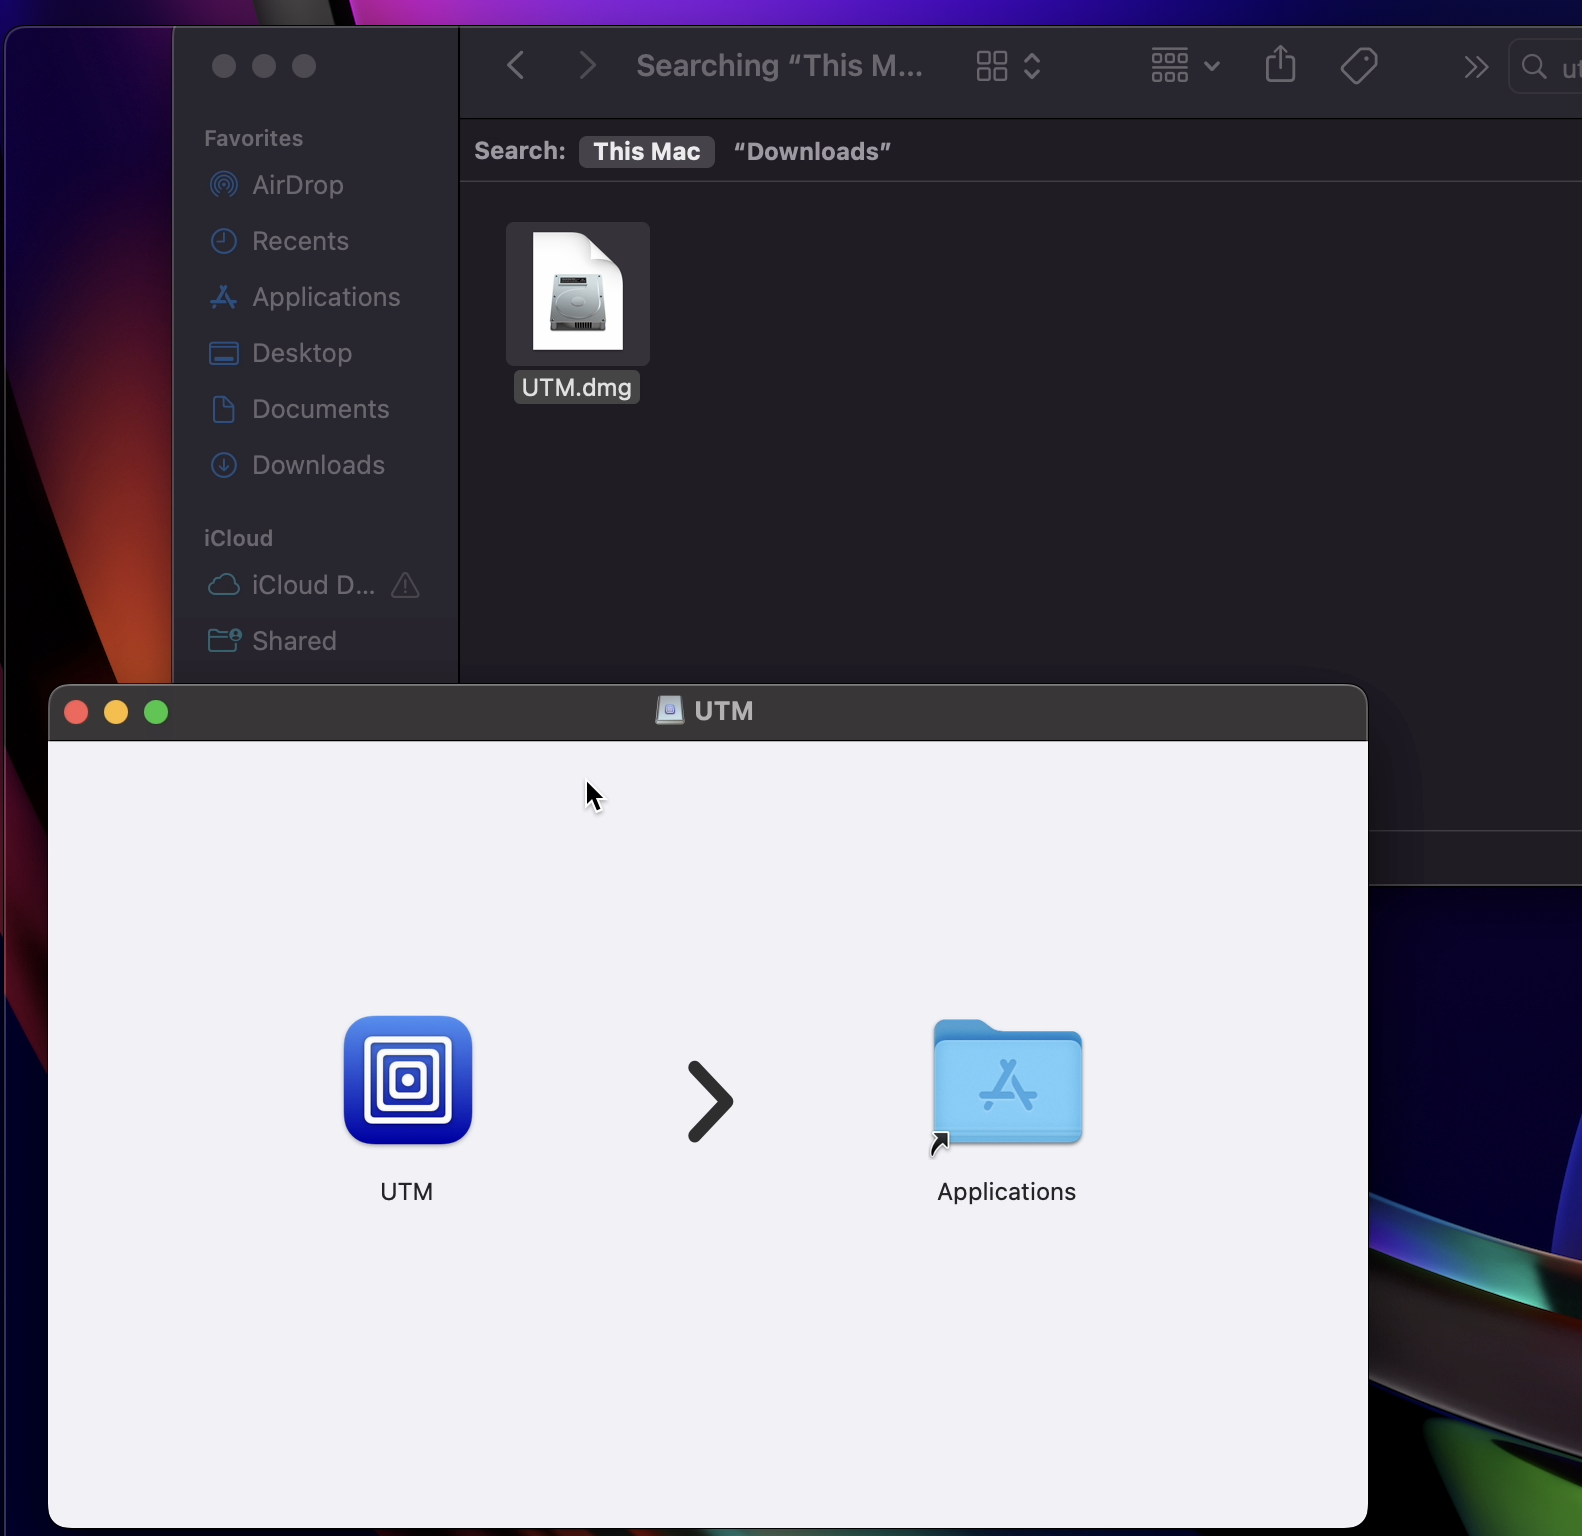
- Search for UTM and Open the UTM app from Launchpad.

- Once the app is launched, click
Create a new Virtual Machine.
- Use the
Virtualizeoption to simulate the bare metal performance.
- Select
Linuxand on the next screen, you will see Boot options. ClickBrowseand select the.isoimage for Ubuntu 22.04 that you download in the above step.

- Keep pressing the
Continuebutton with default settings till you reach the summary screen. - Tap on the big Play button to boot Ubuntu 22.04

- Select
Try to Install Ubuntu. This takes a minute and you will see a blank screen.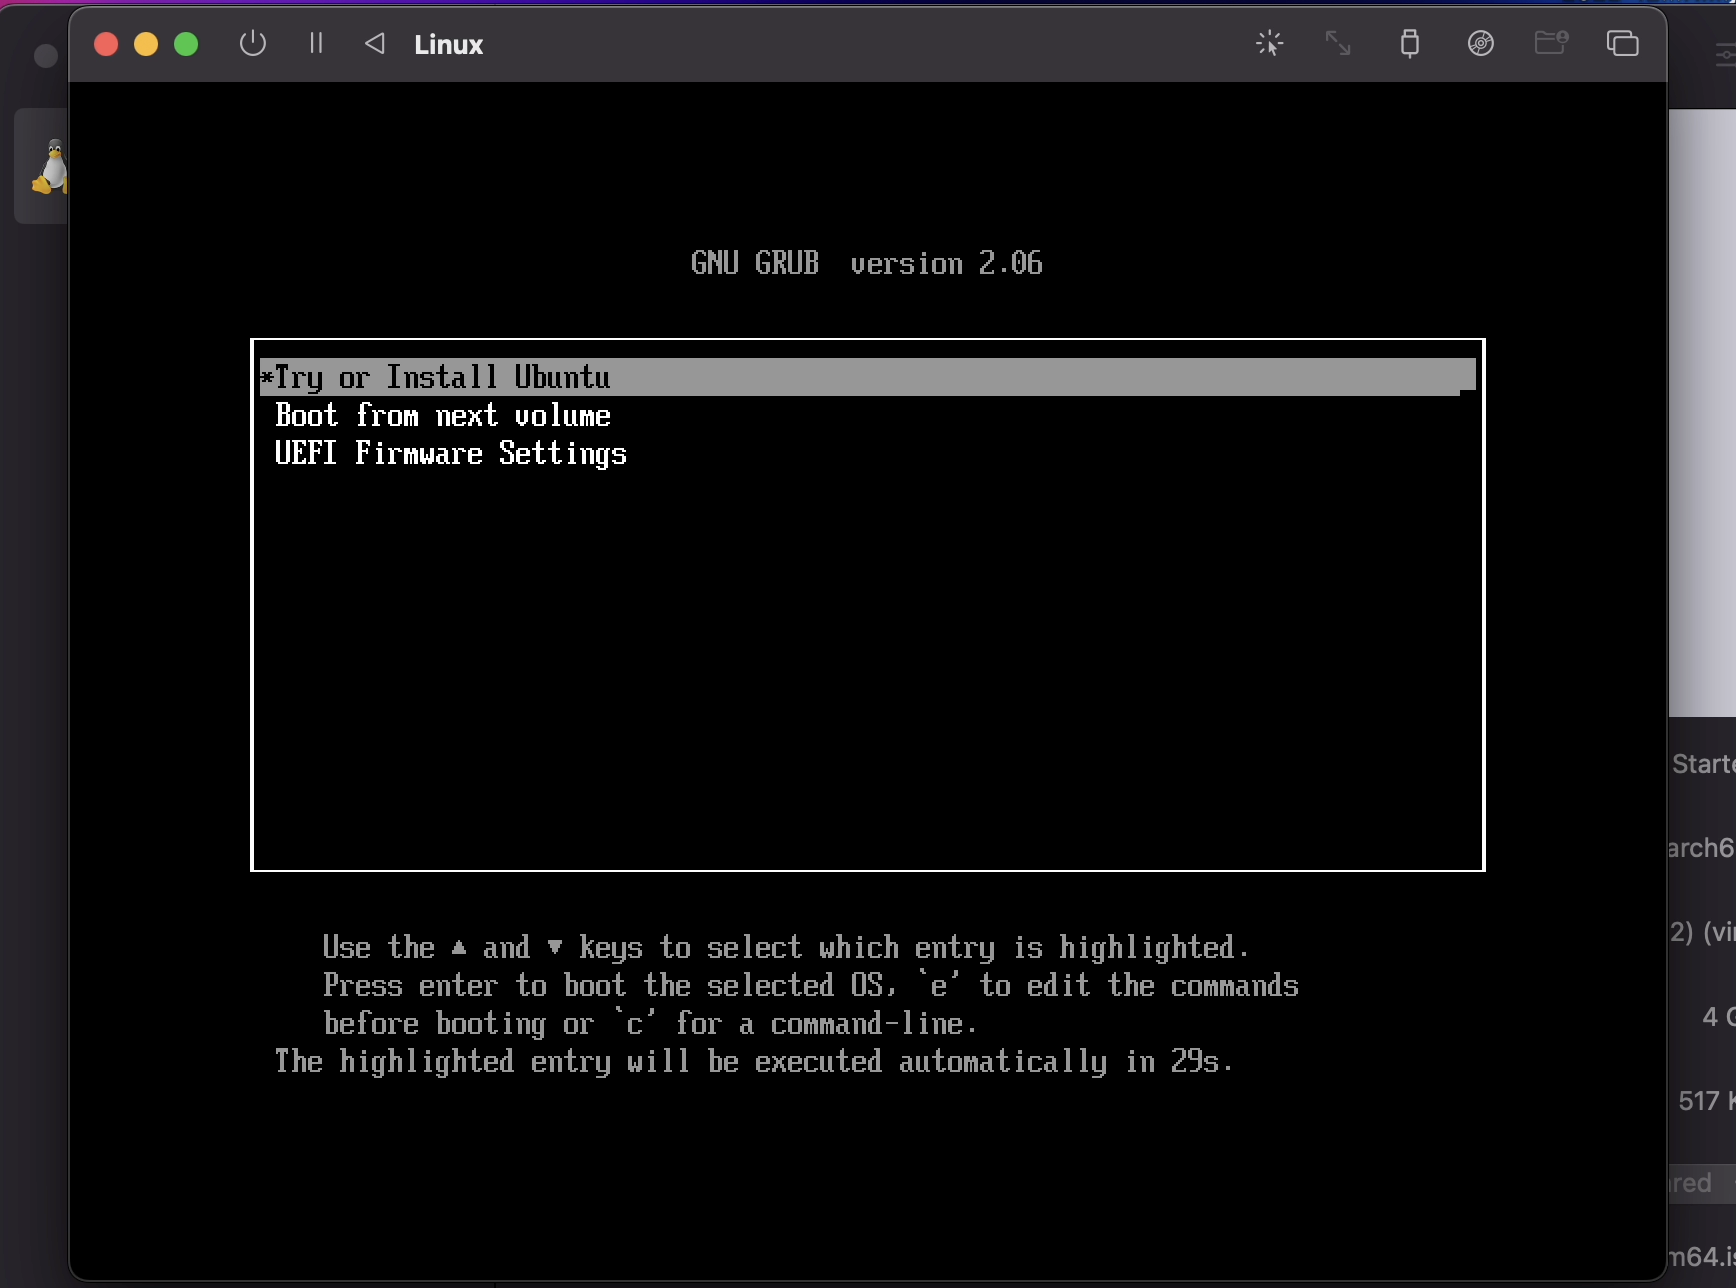
- Once you see the Ubuntu 22.04 screen, type in
ubuntuto login.
- The system will boot with the live image. On the right side, you will see
Install Ubuntu. Continue with the standard installation process.
- Select
Install Third Party Softwarein the following screen.
- Select
Erase Ubuntu and reinstallor if you are doing it for the first time, the third optionErase disk and install Ubuntuwill be your first one. Choose that.
- Save the username and password. You will need this later for login.

- Continue with installation. This will take time.

- Once Installation is done, You will see an option to restart the screen. Close the dialog box and Power Off the system.


- Now using the virtual machine Navigation bar, choose Drive Image Options and eject the image file.


- You can restart the VM now by tapping on the Play Button. Now you will wait for 10 seconds to see the login screen of Ubuntu.

- Congratulations! You have Ubuntu 22.04 running on your Macbook. You can log in now using your password.
How To Install ROS 2 in Ubuntu 22.04 On M1 Mac
Now that we have Ubuntu 22.04 running on our Macbook with M1/M2 Chip, we can install the ROS 2 HUMBLE version by following the steps for Linux Distribution.
- Open Terminal.

- To be able to copy and paste between your Ubuntu and Mac, run the following command in your terminal
- Set locale
Make sure you have a locale that supports UTF-8.
- Setup resources
- ROS 2 GPG key with apt.
- Add the repository to your sources list.
- Update and Upgrade your packages
- Install Desktop Full
- Setup environment:
- Add this to your bashrc script so that you don’t have to re-run the command every time you open a new terminal.
- To check the installation:
- Go to https://docs.ros.org/en/humble/Tutorials/Beginner-Client-Libraries/Colcon-Tutorial.html.
We need to install the `colcon` build tool. - Welcome to creating your first ros workspace.
- Since we are doing a clone, we need git also, So install git using
- Run all the below commands from the ros2_ws folder.
- After cloning, you should have the entire code inside your src folder for examples in ros2.
- Now we will build examples of the ros package. In the root of the workspace, run
- You should have build, install, and log folders.
- You need to source before being able to launch the node. So run
- Try a demo
With the environment sourced, we can run executables built by colcon. Let’s run a subscriber node from the examples:
In another terminal, let’s run a publisher node (don’t forget to source the setup script):
You should see messages from the publisher and subscriber with numbers incrementing.

Voila!! You have ROS 2 Humble Running on Ubuntu 22.04 inside a Virtual Machine on Macbook.
Another important thing to learn is how to build new ros packages:
If you liked the article, please buy me a ☕️ coffee
References: